Monday, March 30, 2015

A Little bit Art Deco with Kim Kendell

Hi everyone and welcome to my Memory Maze blog post. 

Art Deco Canvas

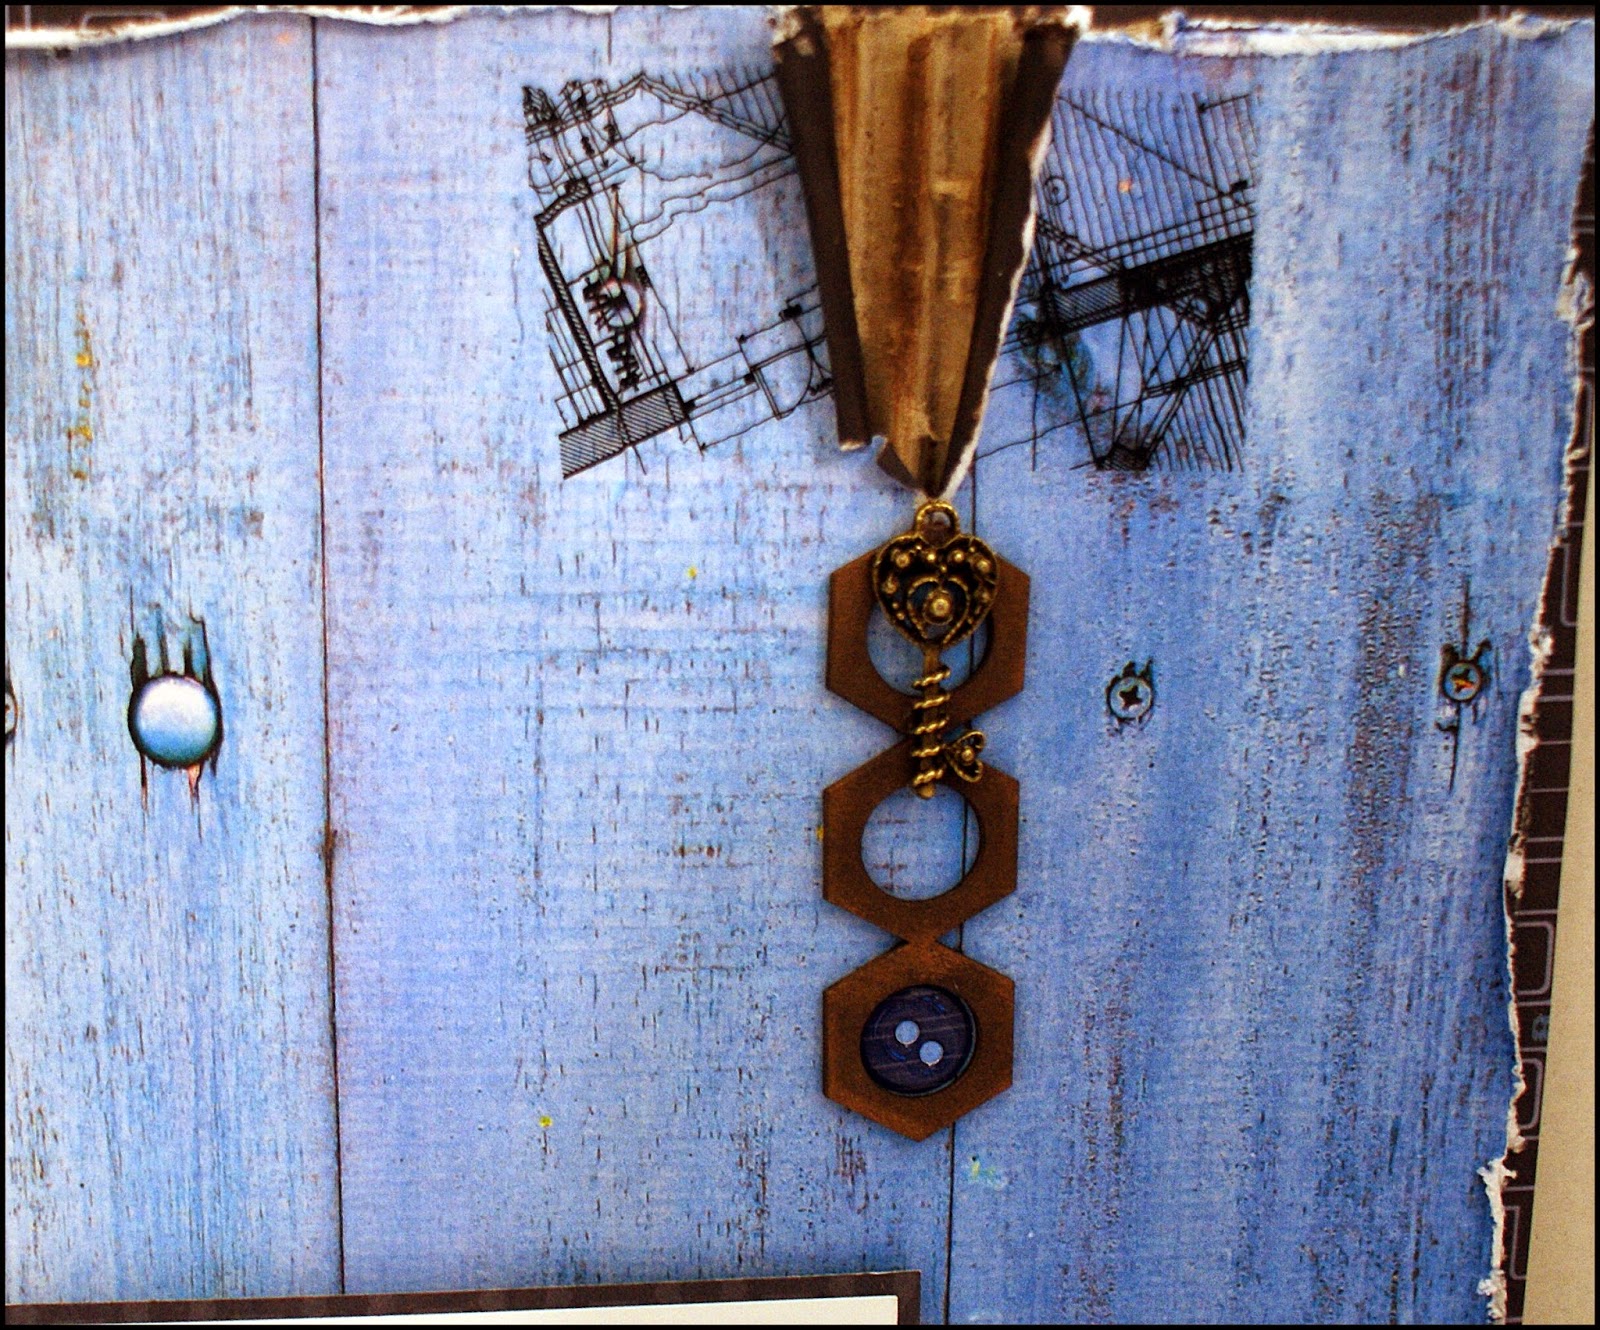
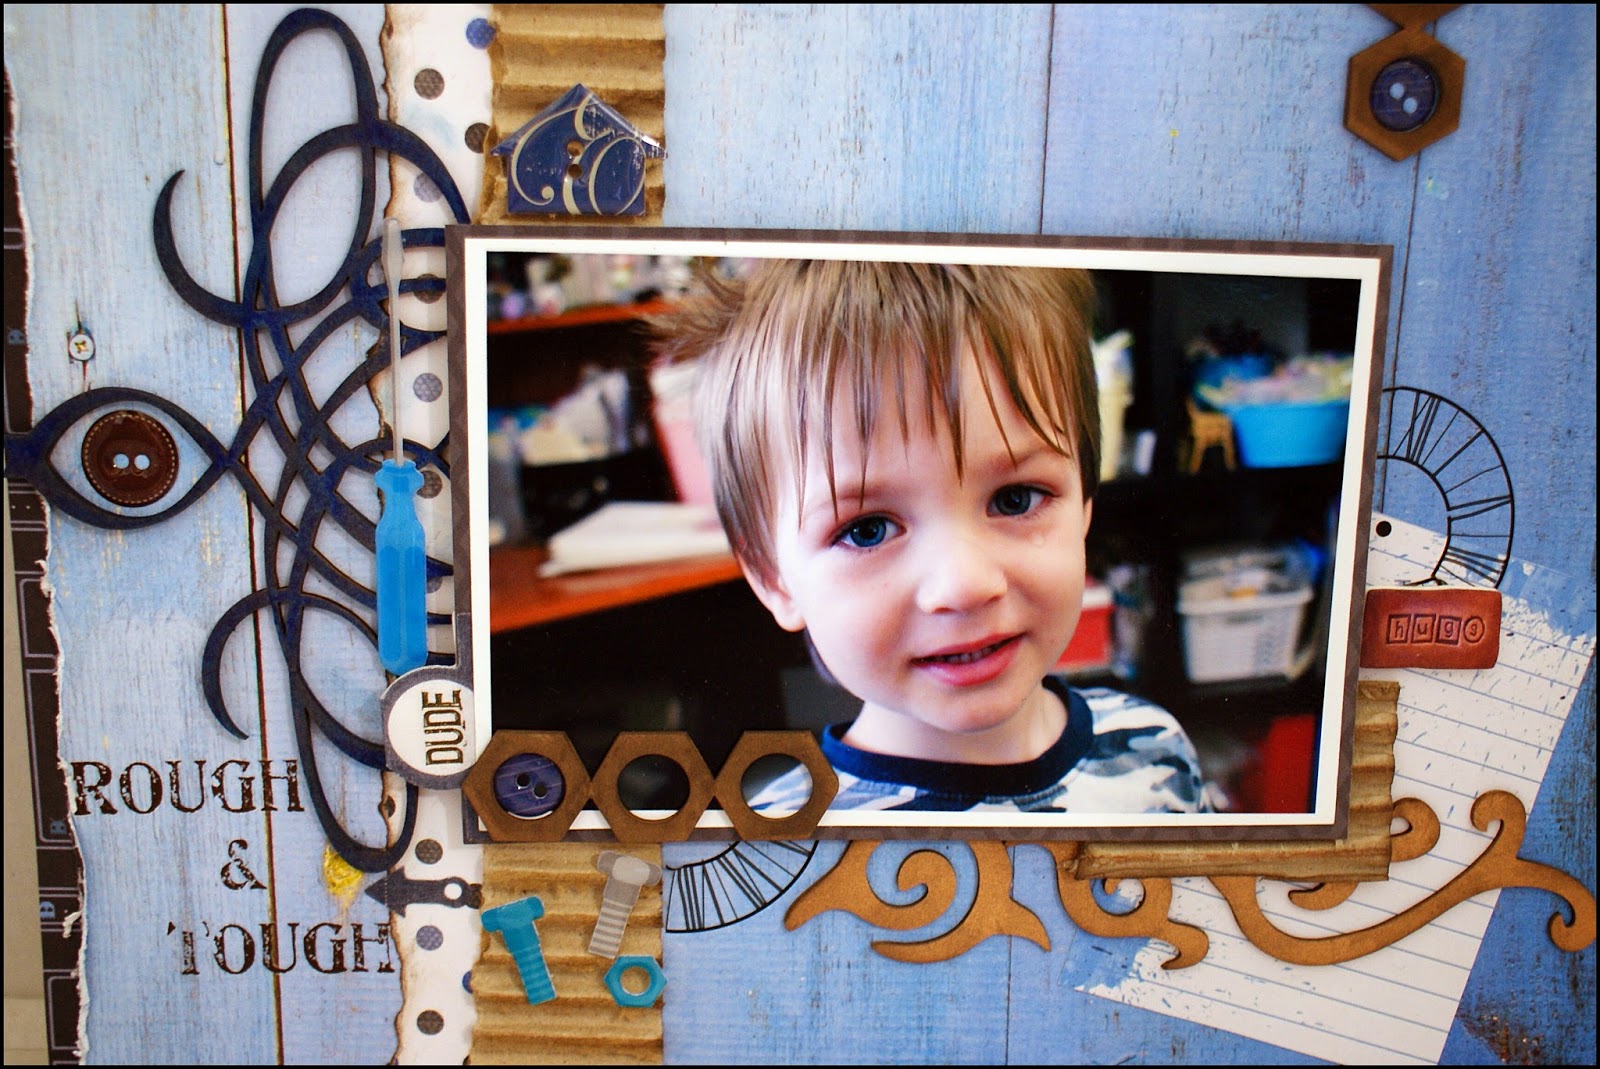
Hello its my turn again today I am sharing a Art Deco Canvas with you I have used an 8 x 10 canvas and an array of Tattered Angels products to create the background I have then used a Jan's girls No 6 I ran this through my big shot in a brocade embossing folder and then using Tattered Angels High Impact paints painted the various elements of the girl. I then selected a gold colour from my Metallic Cream rubons and applied this over the top of the body of the girl and then rubbed it off with a dry paper towel.
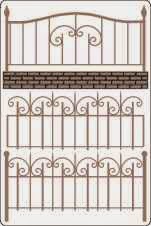
I then took the wrought iron no 5 and painted it in the same colours as this piece has a real art deco feel to it. I the started adding flowers and lace to my canvas to finish of the effect. I hope you like it.
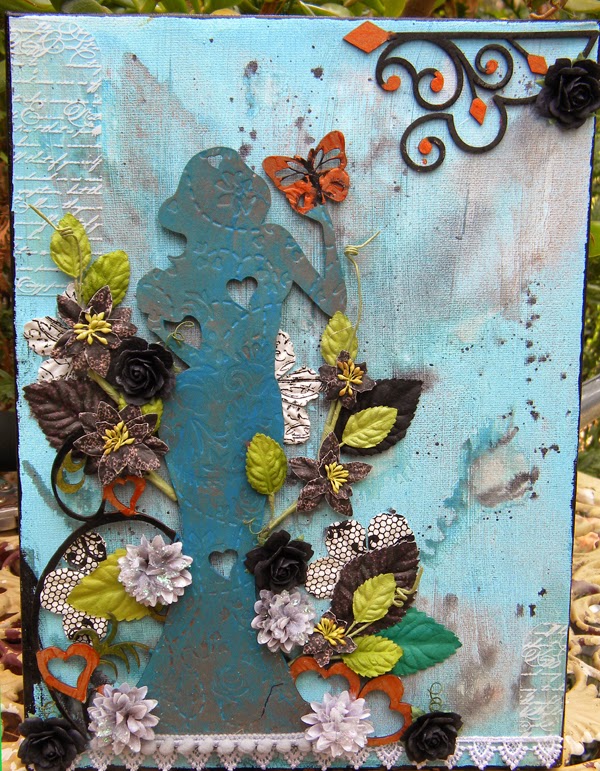


I have used the following Memory Maze products

Jan's Girls No 5


Wrought Iron No 5


Project Life 

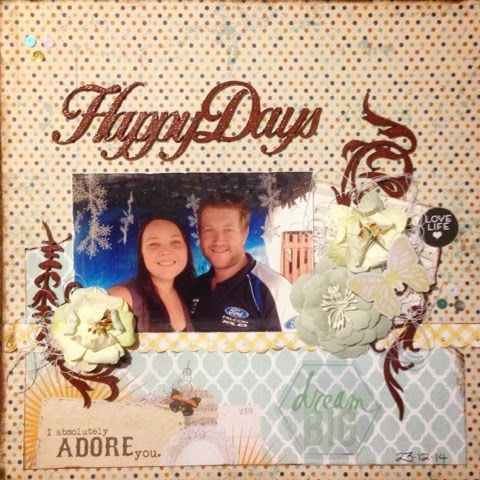
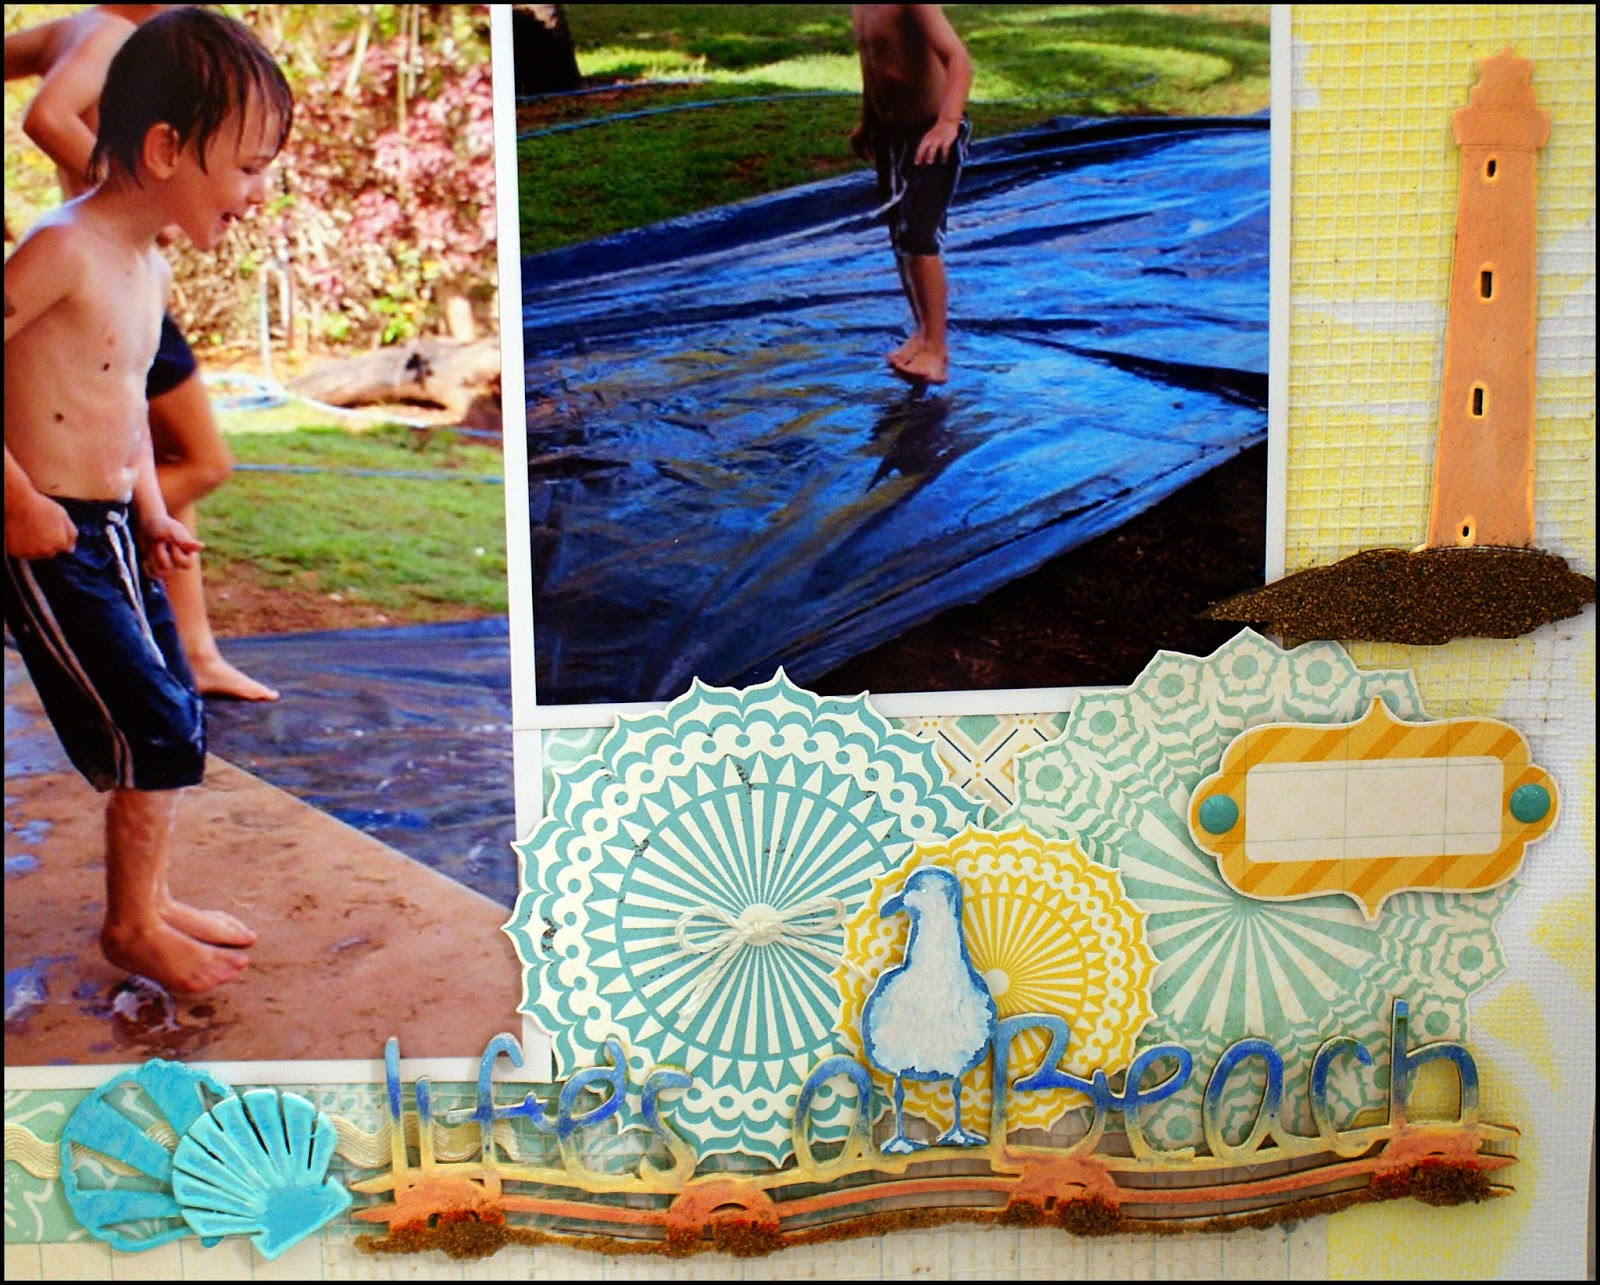
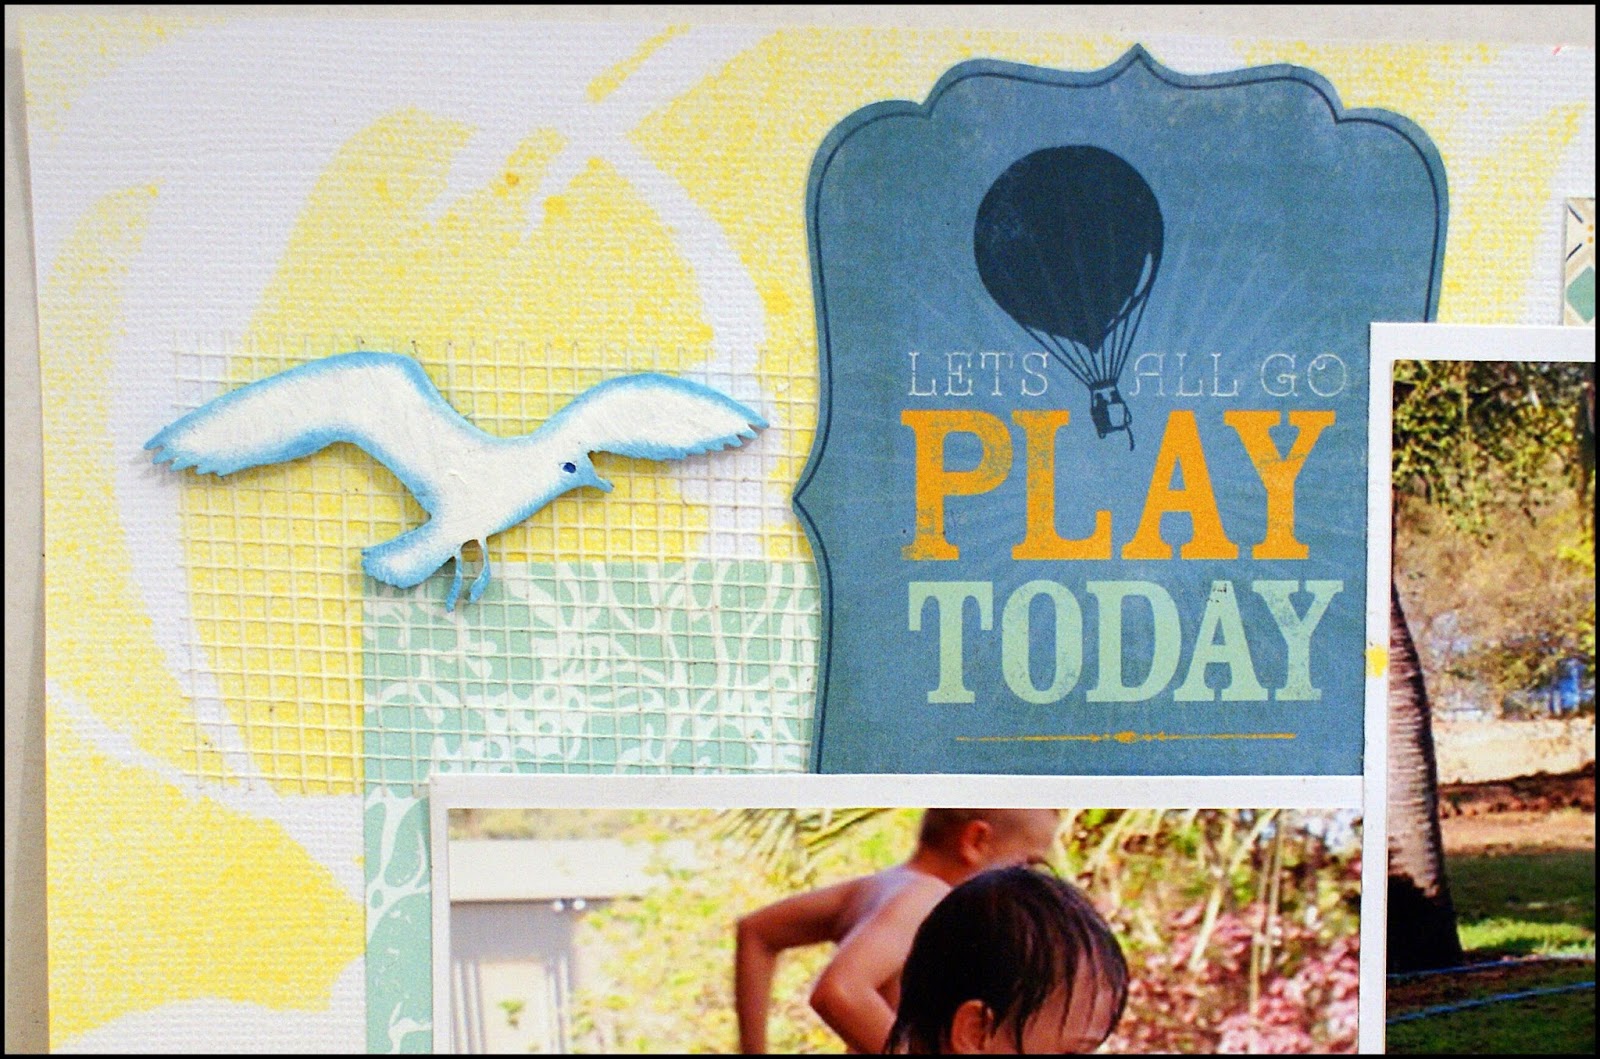
My second share is a share of a project life LO I have created to let you in on a little secret I have never got into project life and this is my 1st page but when I received my kit from Memory Maze and had these awesome cute cameras and arrow's I thought well her goes nothing I hope you like what I have created with them.  

I have used the following Memory Maze products

Camera's


Arrow's Selfies


Thank you for coming to view my upload I hope I have inspired you to create something wonderful with Memory Maze.


Kim.
Memory Maze Design Team Member 2015

Saturday, March 28, 2015

Happy Days with Jan Agnew

For this upload I have created a card and layout. I have inked the raw chipboard and embossed it with one layer of clear embossing powder to give it the effect I wanted.

Happy Days


Memory Maze chipboard used:

Swirl 3; which has been cut into two pieces

Birthday Card


Memory Maze chipboard used:

Thursday, March 26, 2015

Rough and Tough & Life's A Beach with Mel's Barnicoat

Morning Everyone.


Today I am here to share with you this grungy layout I created using some great Memory Maze Chippy and a perfect paper line from Kaiser Craft. As soon as I saw these papers I knew I wanted to work with them and I knew There were plenty of Grungy chipboard pieces in the Memory Maze Shop that work work perfectly.


I have used the trusty Pine cone ink to cover the chipboard "Bolts Border" and then went around the edges with a metallic copper ink that I had. It gives it that aged and rusty look.
A gorgeous brass key from the lovely Jan and it finished off the top of the layout perfectly.


 I have used the same technique on the "Tribal 12" chipboard piece but in reverse, so covering the piece with the metallic copper first and then inking the edges with pine cone.


The "Swirl 7" was covered with this perfectly coordinating blue ink pad that I had. It's just a cheap ink pad but still works fine and matches exactly. This piece was edged with the metallic copper to match in with the rest of the layout.

I love using old cardboard on my layouts, it's great for those hard to complete male projects and along with some rub-ons completed the work.

Chipboard used; 


Bolts Border; L0059


Swirl 7; L0074


 Tribal 12; L0105


 Welcome back to my second post for the day.


This afternoon's layout is all about the beach. My family and I live in the country and it is a bit of a drive to get to the beach for us so we don't get there very often. We stay at home and make our own water fun. My kids love getting the black plastic out with the detergent and making a big water slide down the front yard of our house yard. I am sure there are plenty of people out there who remember doing this as a child. 


To create my beach title I have sprayed the entire piece with White Dylusions paint (I think I missed a couple of bits) Then I added some orange and yellow Stampin Up reinkers to the center strip and waited for them to dry. I then added some dark and light blue chalk ink pads and blended them with a dauber. Lastly I added some glossy accents to the bottom strip and sprinkled sand on it. (Sorry the only sand I had was out of the sand pit and there was a fair bit of gravel mixed in with it).


I did the same technique with the lighthouse but only using some re inker, white paint and sand.


The rest of the pieces were covered with white gesso and then either trimmed the edges with blue re inker or I sprayed the shells with dylusions spray.


Chipboard used;

Beach set./seaside


Life's A Beach Title.
 

Thanks for coming back and having a look. Make sure you keep checking daily for plenty more gorgeous creations from the rest of the Memory Maze Design Team.

Mel

Wednesday, March 25, 2015

CUTTING UP YOUR CHIPBOARDS with Liz Hocking


Thanks for joining me today for a bit of fun with some of your chip boards, that you think you will not use.

I was supplied with some great chipboard  from Memory Maze, firstly the  'Baby Set' (S0142),  'A little dirt never hurt' (kw005) and finally 'Uncle' .


I sat looking at them  for sometime thinking, how can I best utilise  these chippies?  Then in a light bulb moment I set about cutting them up.


Little Ben Layout

You can see that I used the 'e' & 'n' from (Uncle) and wait for it......the handle of the dummy as the 'b'.  The word 'little' was taken from ­­­­­­­'A little dirt never hurt', these are teamed with 'cute teddy bear' and  MM flourishes cut into bits.  I have also used the 'flower' stencil from MM with some Impesto.


The impesto was given a blast with the heat gun to give it that bubble effect.


Then a light coat of Gesso over the whole page.


 I applied some glimmer mists, silks and topped off with 'Inka gold' orange and buffed up to give it a lovely shine.


...and here is the finished result.  I hope that you enjoyed this post and it inspires you to look at your chip board pieces in a different light.


For my next work I have created a layout of my little granddaughters.


MY SISTER


 This time I have used 'Sister' (SO399) and 'Gates' (LO166)chip board from Memory Maze.


I first painted 'Sister' with Gesso and then 'pretty pink' paint.  When dry I then applied some rub on flourishes and applied Dimensional Magic to give the special effect.


I cut up some of those lovely gates and inked in 'pinecone' and threaded flowers and vine through them


 ...and here is the end result.


Thanks for taking the time to view and if you would like to see more of these beautiful chip boards etc. you can visit here @ Memory Maze
until next time,


 Happy scrapping ...Liz
2015 Memory Maze Design Team Member.

Monday, March 23, 2015

Exploding Photo Box and Ohhh so Cute Layout by Jodie Mason

I'm back today with something a little different, and it was definitely a first for me. This was a special present for a very special person in my life, that I was hoping they would be able to display and treasure for many years to come.


Exploding Box Card

This was made as a present for my father-in-law's 60th birthday recently. We had a friend of ours (who also happens to be a professional photographer) come and take some photos for us at his birthday party. The best bit is that all of these images come on this wonderful USB that is disguised like a business card or gift card. Some of these images were then printed out and used in this box card, and the USB is displayed within the central cupcake.

There are plenty of Memory Maze chipboards used in this one. From the outside you notice the 'Friends' title and in the center is the 'beautiful' chipboard piece. On the pages in between there are many other MM sentiments as can be seen in the products list. The majority of these chipboard pieces have been treated in different ways and this has been explained in the captions under each of the images.


Beautiful MM Chippie. This has been painted with black acrylic paint, had silver liquid pearls added to highlight it and been covered with glossy accents.
Baby Girl MM Chippie. This was painted with pearl ex powder (that had some water added to it to make it like a paint), and covered with glossy accents.
Daughter MM Chippie. It has had several colours of pearl ex painted on it and covered with glossy accents.

Family MM Chippies. These have all been prepared by painting several colours of pearl ex in places and then covered with glossy accents.
Cute as a Button MM chippie that has been painted with pearl ex powders and then clear embossed.

Smile MM chippies that have been painted with pearl ex powders and clear embossed.
Beautiful MM chippie that has been painted with blue acrylic paint and pearl ex powders and then clear embossed.
Grandmother MM chippie. This has been painted with blue acrylic paint and pearl ex and had glossy accents added.

Sisters MM chippie. This has been painted with blue acrylic paint and pearl ex powders and had glossy accents added.

Brothers MM Chippie that was painted with black acrylic paint and pearl ex powders and had glossy accents added to finish it off.
This is a combination of the above Grandmother and Daughter chippies. It has been painted with the pearl ex and glossy accents.

Memory Maze Supplies:
Friends  
Beautiful  
Family 
Grandmother 
Brothers 
Baby Girl  
Daughter
Smile
 Cute as a Button

Ohhh So Cute Layout

This layout was made using some of the fabulously fun photos of my daughter Holly and I at the birthday party. As a typical young girl she loves dressing up and putting on a show. These pictures really capture the fun spirit of the day that we had. Both of the chippies were coloured with 2 shades of adirondack ink, which had been added to a cotton ball with some icocol and then dabbed onto the chippies. I then painted over this with some purple pearl ex powder that had been mixed with some water to form a paint. The final step was to apply several coats of clear UTEE and melt.


Memory Maze Supplies:


Please feel free to let us know what you think of our creations. I look forward to seeing you again soon.
Until next time,
Jodie.
2015 Memory Maze Design Team Member